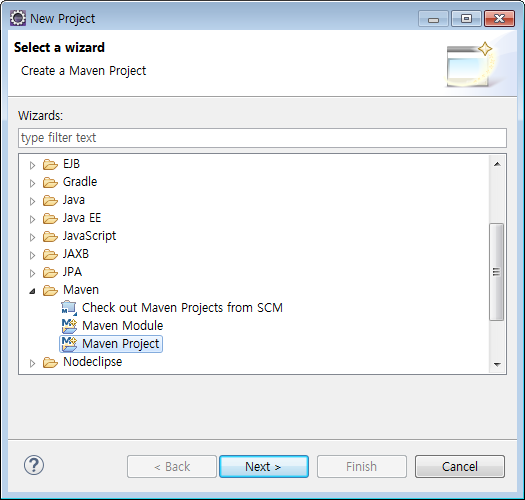
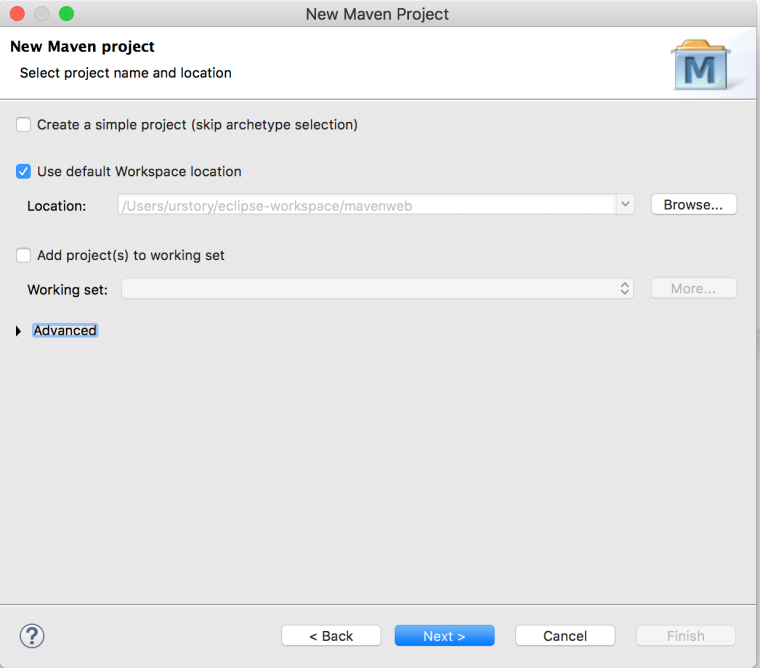
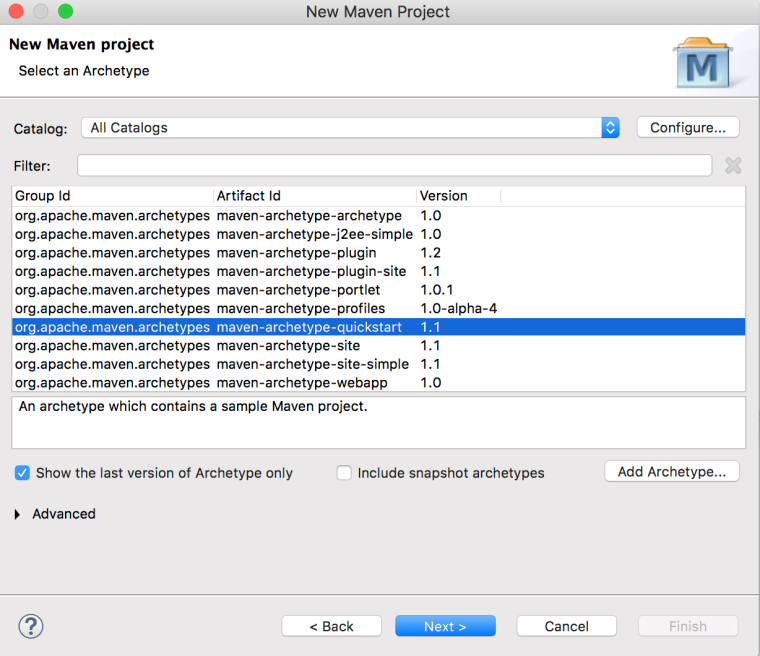
Maven으로 Java프로젝트 만들기

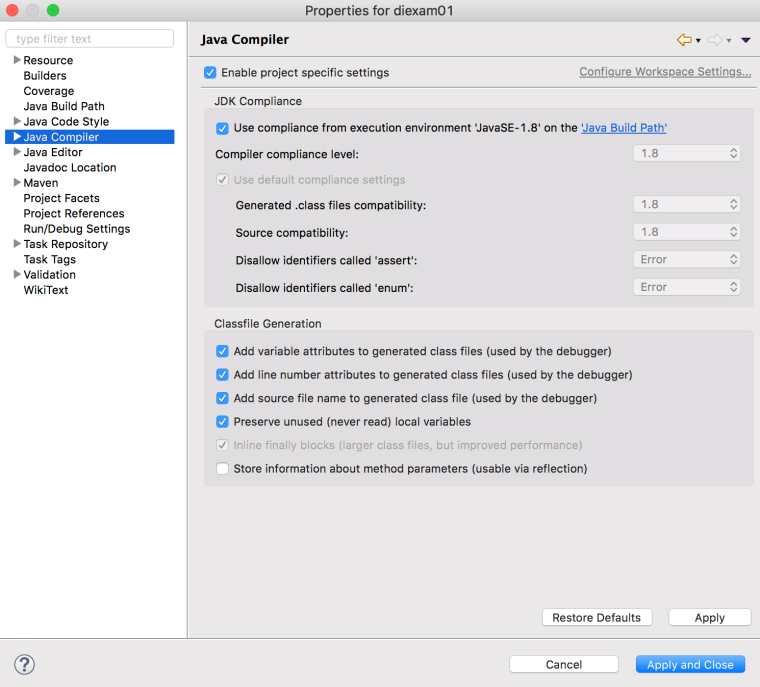
pom.xml 파일에 JDK를 사용하기 위한 플러그인 설정을 추가합니다.
<project xmlns="http://maven.apache.org/POM/4.0.0" xmlns:xsi="http://www.w3.org/2001/XMLSchema-instance"
  xsi:schemaLocation="http://maven.apache.org/POM/4.0.0 http://maven.apache.org/xsd/maven-4.0.0.xsd">
  <modelVersion>4.0.0</modelVersion>

  <groupId>kr.or.connect</groupId>
  <artifactId>diexam01</artifactId>
  <version>0.0.1-SNAPSHOT</version>
  <packaging>jar</packaging>

  <name>diexam01</name>
  <url>http://maven.apache.org</url>

  <properties>
    <project.build.sourceEncoding>UTF-8</project.build.sourceEncoding>
  </properties>

  <dependencies>
    <dependency>
      <groupId>junit</groupId>
      <artifactId>junit</artifactId>
      <version>3.8.1</version>
      <scope>test</scope>
    </dependency>
  </dependencies>

-------------------------------------추가----------------------------------------------------
  <build>
     <plugins>
        <plugin>
            <groupId>org.apache.maven.plugins</groupId>
            <artifactId>maven-compiler-plugin</artifactId>
            <version>3.6.1</version>
            <configuration>
                <source>1.8</source>
                <target>1.8</target>
            </configuration>
        </plugin>
    </plugins>
  </build>
----------------------------------------------------------------------------------------------

</project>
: 전 이미 maven-compiler-plugin 이 이미 있기 때문에 버전만 1.7에서 1.8로 변경하였습니다.


프로젝트를 선택하고, Maven -> Update Project를 선택합니다.
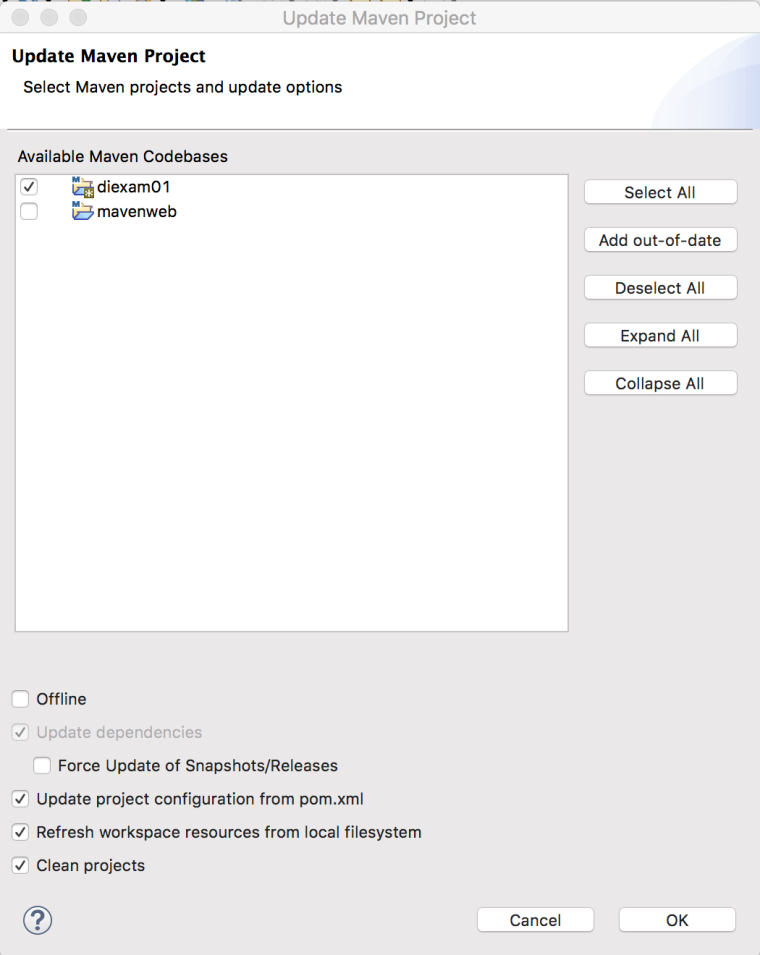
위와 같은 창이 뜨면 OK버튼을 클릭합니다.
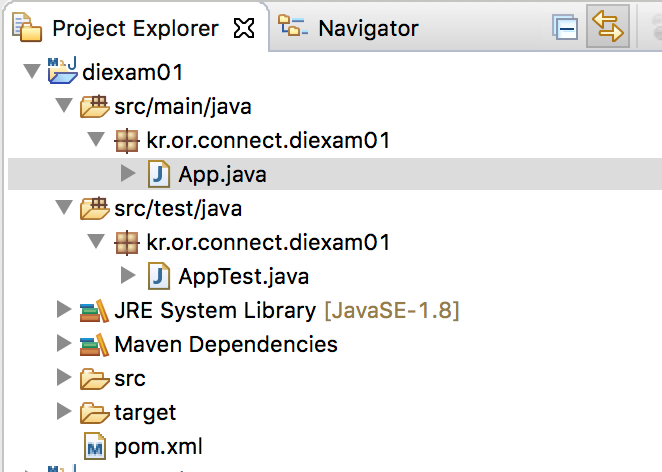
실습코드
App.java
package kr.or.connect.diexam01;

/**
 * Hello world!
 *
 */
public class App
{
    public static void main( String[] args )
    {
        System.out.println( "Hello World!" );
    }
}
AppTest.java
package kr.or.connect.diexam01;

import junit.framework.Test;
import junit.framework.TestCase;
import junit.framework.TestSuite;

/**
 * Unit test for simple App.
 */
public class AppTest
    extends TestCase
{
    /**
     * Create the test case
     *
     * @param testName name of the test case
     */
    public AppTest( String testName )
    {
        super( testName );
    }

    /**
     * @return the suite of tests being tested
     */
    public static Test suite()
    {
        return new TestSuite( AppTest.class );
    }

    /**
     * Rigourous Test :-)
     */
    public void testApp()
    {
        assertTrue( true );
    }
}
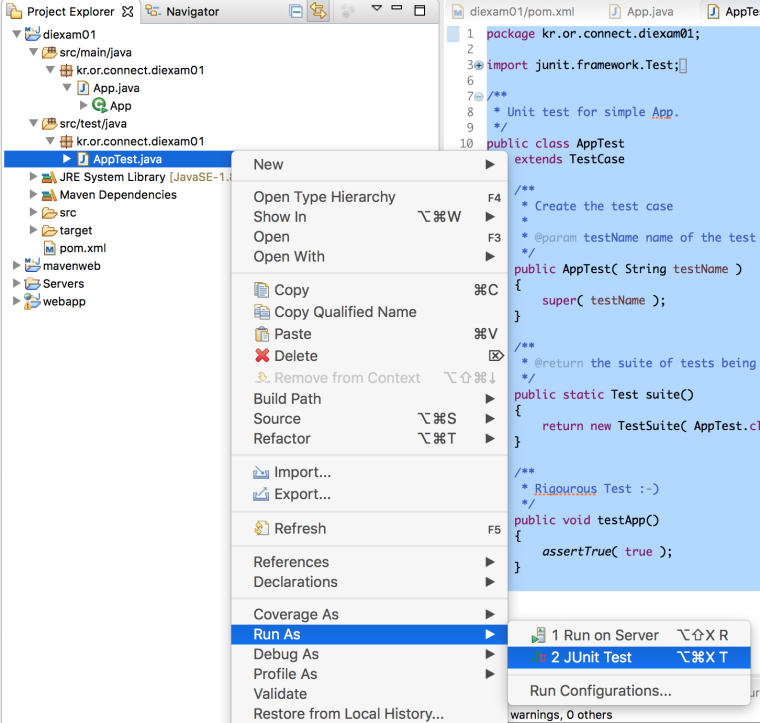
AppTest.java 를 선택한 후 우측버튼을 클릭하고 Run As -> JUnit Test 메뉴를 선택합니다.

하단의 JUnit 뷰에 하나의 테스트가 성공했다는 메시지와 함께 녹색 막대가 보여집니다.
Bean class란?
예전에는 Visual 한 컴포넌트를 Bean이라고 불렀지만, 근래 들어서는 일반적인 Java클래스를 Bean클래스라고 보통 말합니다.
Bean클래스의 3가지 특징은 다음과 같습니다.
- 기본생성자를 가지고 있습니다.
- 필드는 private하게 선언합니다.
- getter, setter 메소드를 가집니다.
- getName() setName() 메소드를 name 프로퍼티(property)라고 합니다. (용어 중요)
실습코드
UserBean.java
package kr.or.connect.diexam01;

//빈클래스
public class UserBean {

	//필드는 private한다.
	private String name;
	private int age;
	private boolean male;

	//기본생성자를 반드시 가지고 있어야 한다.
	public UserBean() {
	}

	public UserBean(String name, int age, boolean male) {
		this.name = name;
		this.age = age;
		this.male = male;
	}

	// setter, getter메소드는 프로퍼티라고 한다.
	public void setName(String name) {
		this.name = name;
	}

	public String getName() {
		return name;
	}

	public int getAge() {
		return age;
	}

	public void setAge(int age) {
		this.age = age;
	}

	public boolean isMale() {
		return male;
	}

	public void setMale(boolean male) {
		this.male = male;
	}

}
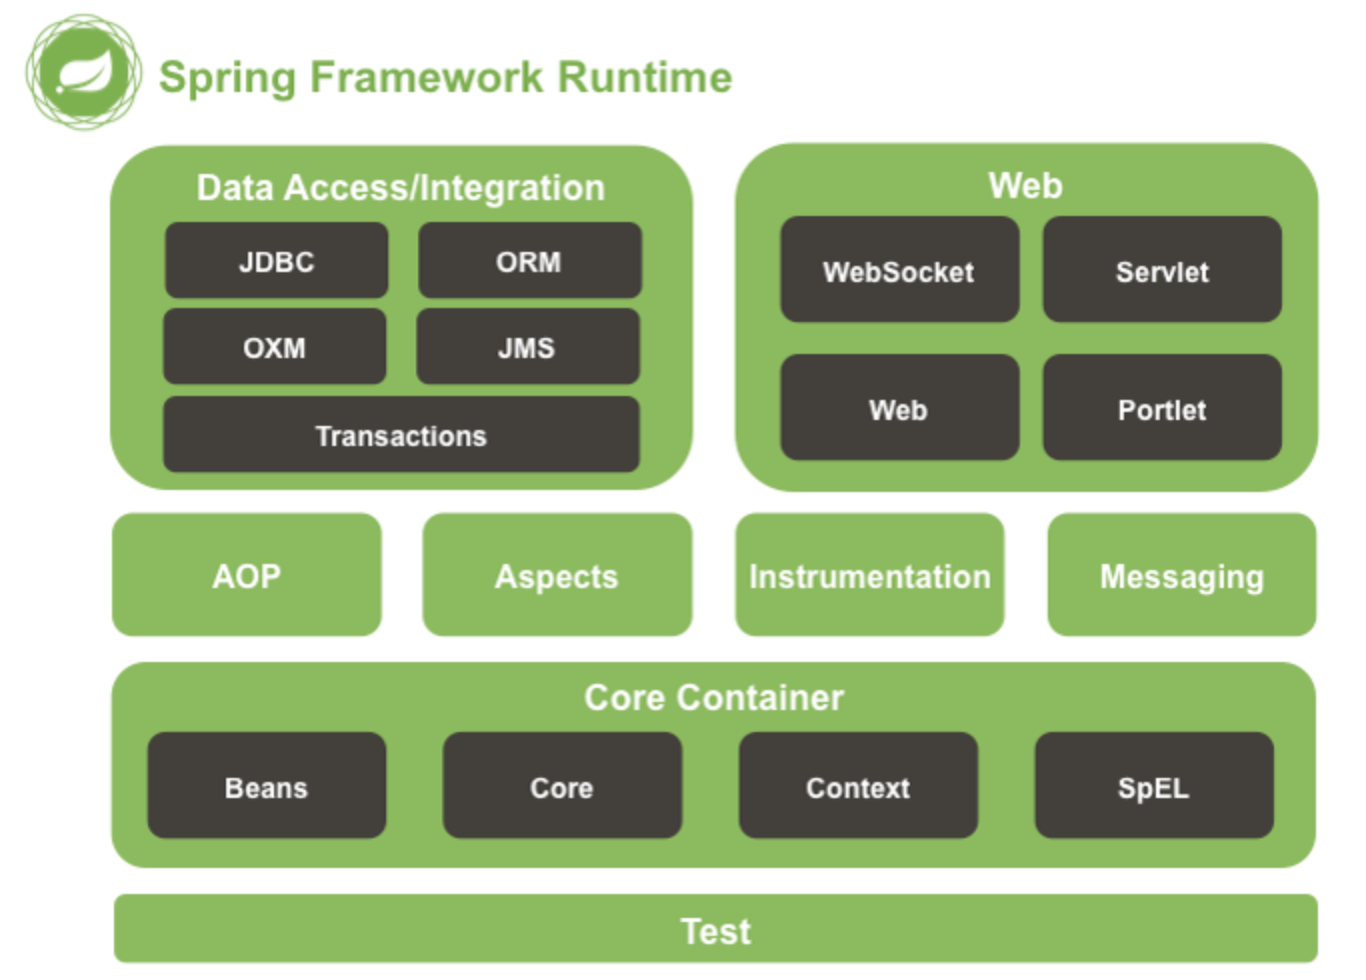
Spring Bean Factory를 이용하여 Bean객체 이용하기
1) pom.xml 파일을 다음과 같이 수정합니다.
<project xmlns="http://maven.apache.org/POM/4.0.0" xmlns:xsi="http://www.w3.org/2001/XMLSchema-instance"
  xsi:schemaLocation="http://maven.apache.org/POM/4.0.0 http://maven.apache.org/xsd/maven-4.0.0.xsd">
  <modelVersion>4.0.0</modelVersion>

  <groupId>kr.or.connect</groupId>
  <artifactId>diexam01</artifactId>
  <version>0.0.1-SNAPSHOT</version>
  <packaging>jar</packaging>

  <name>diexam01</name>
  <url>http://maven.apache.org</url>

  <properties>
    <project.build.sourceEncoding>UTF-8</project.build.sourceEncoding>
    <spring.version> 4.3.14.RELEASE</spring.version>
  </properties>

  <dependencies>
	<!-- Spring -->
	<dependency>
		<groupId>org.springframework</groupId>
		<artifactId>spring-context</artifactId>
		<version>${spring.version}</version>
	</dependency>


    <dependency>
      <groupId>junit</groupId>
      <artifactId>junit</artifactId>
      <version>3.8.1</version>
      <scope>test</scope>
    </dependency>
  </dependencies>

  <build>
     <plugins>
        <plugin>
            <groupId>org.apache.maven.plugins</groupId>
            <artifactId>maven-compiler-plugin</artifactId>
            <version>3.6.1</version>
            <configuration>
                <source>1.8</source>
                <target>1.8</target>
            </configuration>
        </plugin>
    </plugins>
  </build>
</project>
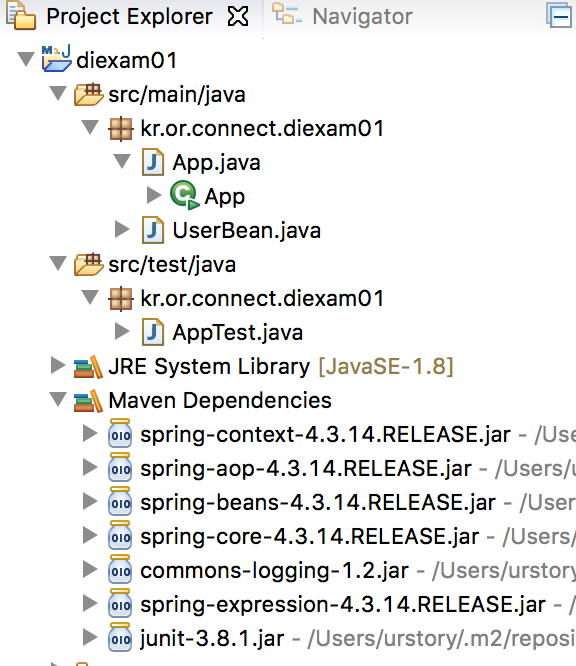
2) 추가된 라이브러리 확인합니다.
3) resources 소스 폴더를 생성합니다.

프로젝트를 선택하고, 오른쪽 버튼을 클릭한 후 New -> Folder를 선택합니다.
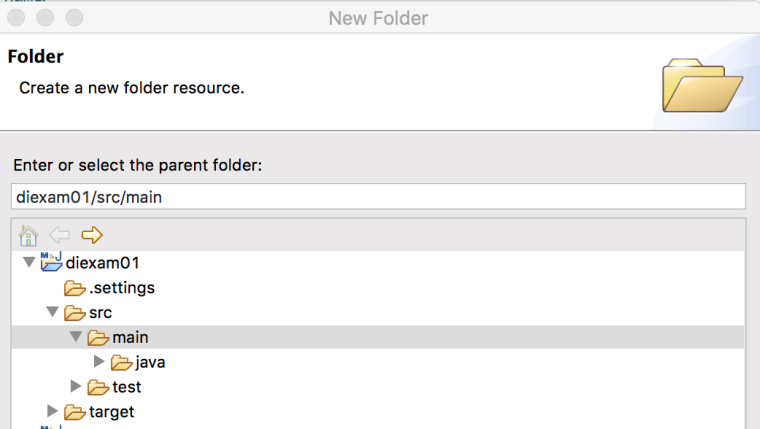
src/main 폴더를 선택한 후 forder name에 resources라고 Finish버튼을 클릭합니다.
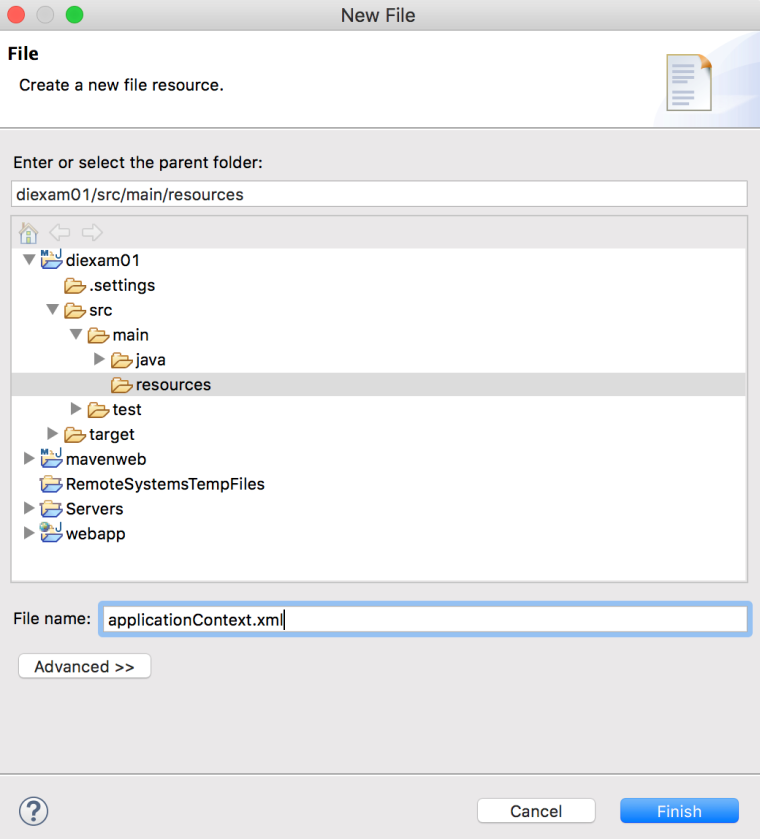
해당 폴더를 선택하고, 우측버튼을 클릭하여 New – File을 선택합니다. src/main/resources 폴더를 선택한 후 File name에 applicationContext.xml 을 입력하고 Finish버튼을 클릭합니다.

위와 같이 생성되었으면 더블클릭하여 파일을 엽니다.
4) resources 소스 폴더에 xml 파일을 작성합니다.
실습코드
applicationContext.xml
<?xml version="1.0" encoding="UTF-8"?>
<beans xmlns="http://www.springframework.org/schema/beans"
	xmlns:xsi="http://www.w3.org/2001/XMLSchema-instance"
	xsi:schemaLocation="http://www.springframework.org/schema/beans http://www.springframework.org/schema/beans/spring-beans.xsd">

	<bean id="userBean" class="kr.or.connect.diexam01.UserBean"></bean>

</beans>
bean 태그를 하나 입력했는데, 위의 태그는 다음과 같은 의미를 가집니다.
UserBean userBean - new UserBean();
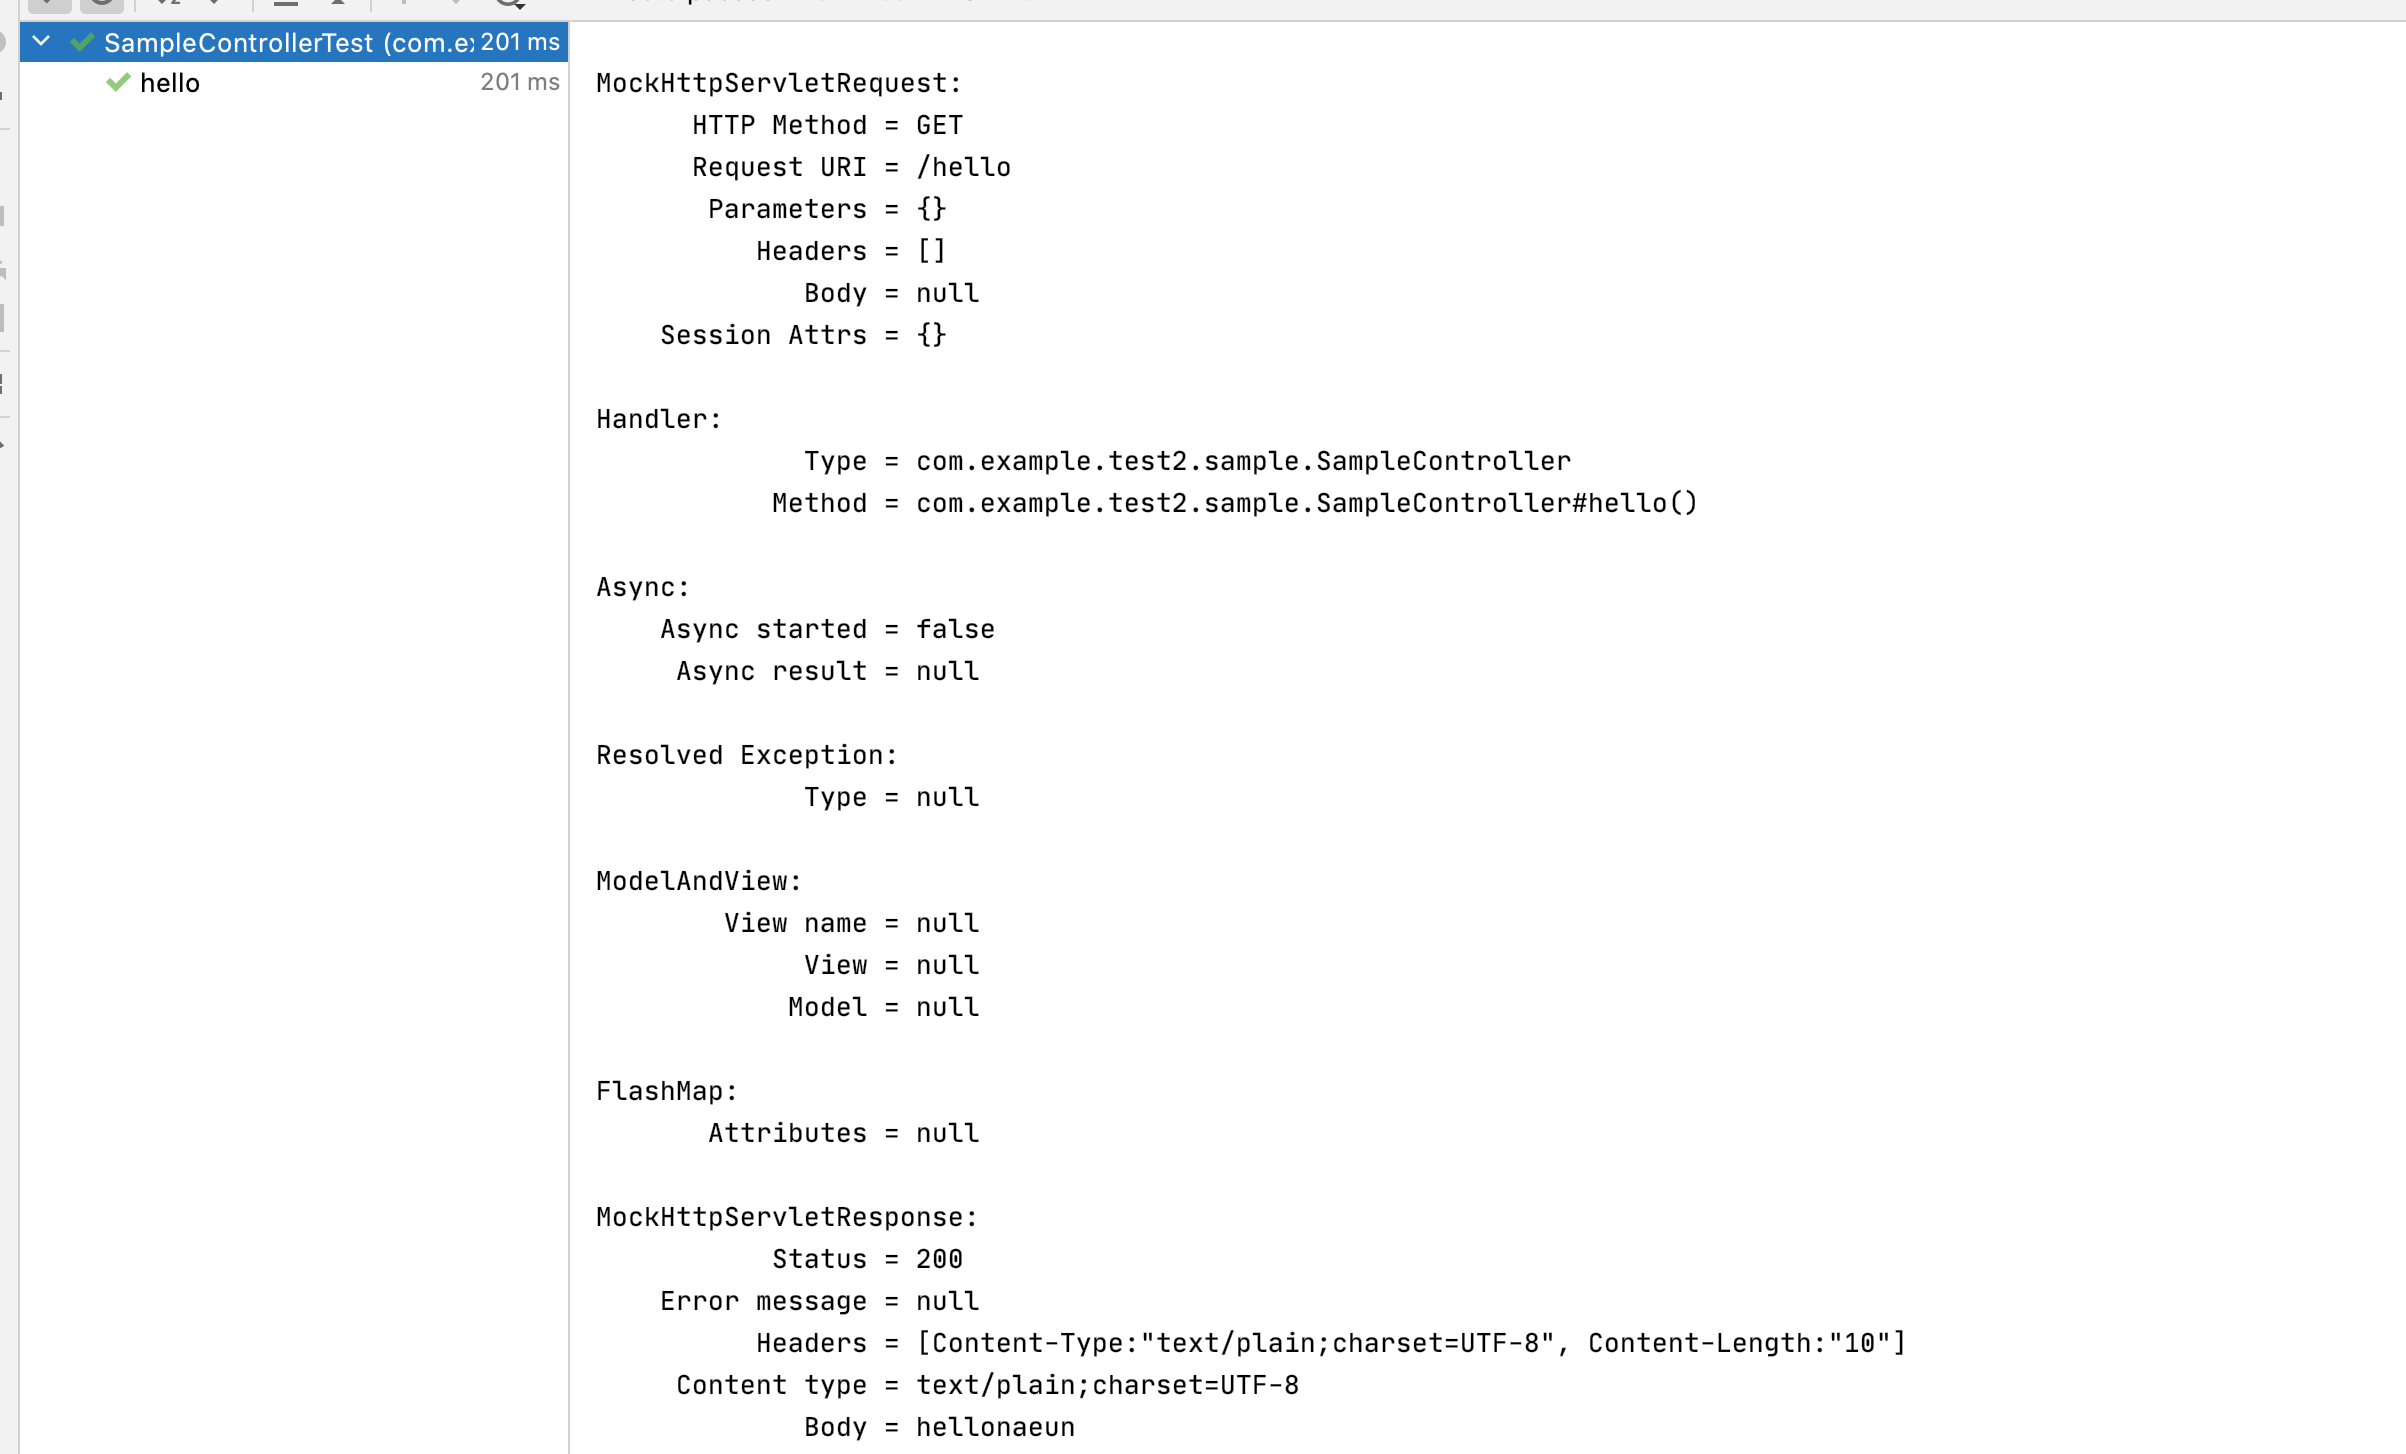
ApplicationContext를 이용해서 설정파일을 읽어들여 실행하기
ApplicationContextExam01
package kr.or.connect.diexam01;

import org.springframework.context.ApplicationContext;
import org.springframework.context.support.ClassPathXmlApplicationContext;

public class ApplicationContextExam01 {

	public static void main(String[] args) {
		ApplicationContext ac = new ClassPathXmlApplicationContext(
				"classpath:applicationContext.xml");
		System.out.println("초기화 완료.");

		UserBean userBean = (UserBean)ac.getBean("userBean");
		userBean.setName("kim");
		System.out.println(userBean.getName());

		UserBean userBean2 = (UserBean)ac.getBean("userBean");
		if(userBean == userBean2) {
			System.out.println("같은 인스턴스이다.");
		}

	}
}'Programming > Spring' 카테고리의 다른 글
| BoostCourse 5) Java Config를 이용한 IoC / DI (0) | 2021.01.06 |
|---|---|
| BoostCourse 4) XML 방식의 IoC / DI 실습 2 (0) | 2021.01.06 |
| BoostCourse 3) Spring IoC/DI container (0) | 2021.01.03 |
| Eclipse - Github 연동하기 (0) | 2020.12.27 |
| BoostCoure 2) Starting Maven Project (0) | 2020.12.16 |